Add and Manage Vendor Members
Last updated: October 14, 2025
Overview
Vendor members must be added to existing vendor organizations. For information on creating a vendor organization, see the article Create a Vendor Organization.
Admins can add, update, and remove vendor members at any time. In this article, we’ll go over everything you need to know to manage vendor members.
Locate a Vendor
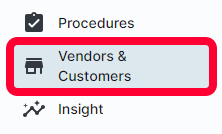
Click Vendors & Customers in the left menu.
A new page will open. Click the Vendors tab on the left.
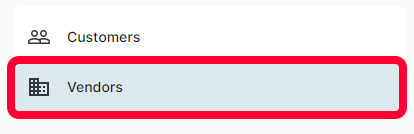
A table with all active vendors will be displayed.

You can search and filter vendors. For more information on the search and filter functions, see the article Searching and Filtering.
Add a Vendor Member
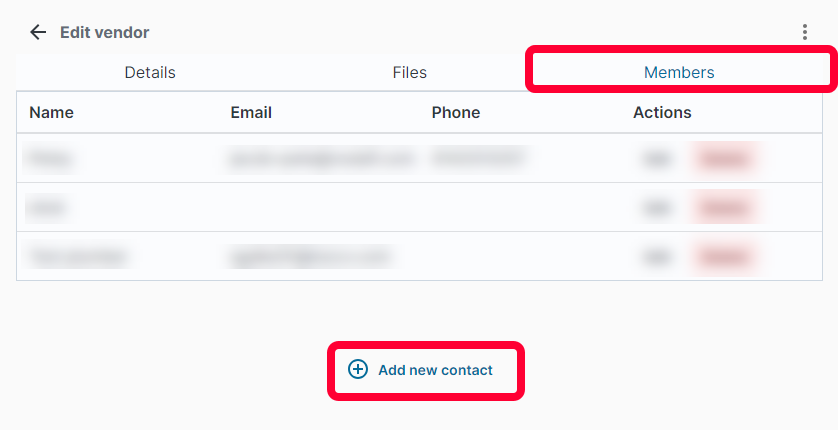
To add members to a vendor organization, click the Members tab. A list of all existing members will be displayed. Click Add new contact.
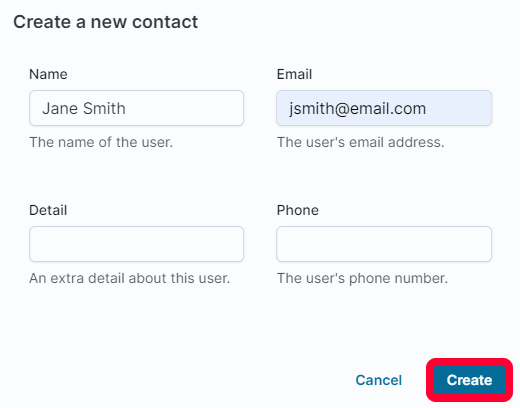
The Create a new contact window will open. Enter the following information:
- Name - Enter the name of the new vendor member. This is a required field.
- Email - Enter the email address for the new member, this will be used for sending new ticket notifications and comment notifications. This is a required field.
- Detail - Enter any additional information about the member. This is an optional field.
- Phone- The new user’s phone number. This is an optional field.
Click Create to add the new member.
Update a Vendor Member
To edit members to a vendor organization, click the Members tab. A list of all existing members will be displayed. Click Edit next to the desired member.
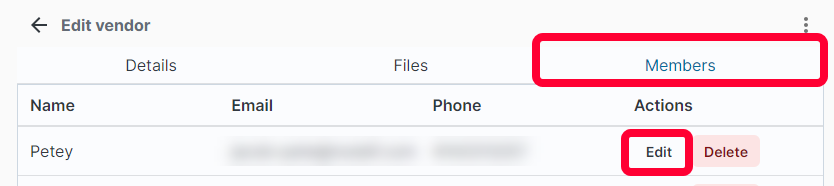
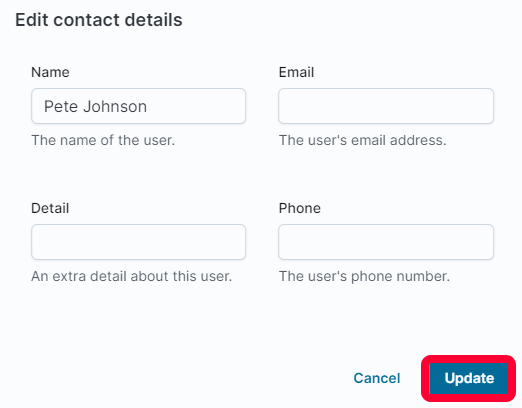
The Edit contact details window will open. Update the fields as desired and click Update to keep your changes.
Delete a Vendor Member
Warning: Deleting a vendor member cannot be undone, use caution before removing members.
To remove members to a vendor organization, click the Members tab. A list of all existing members will be displayed. Click Delete next to the desired member.
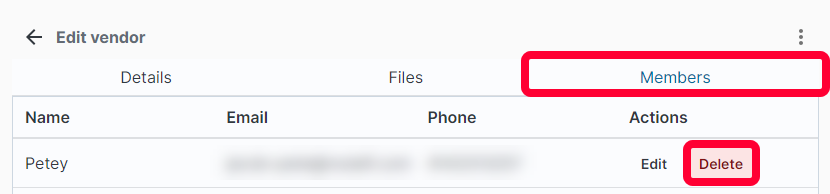
The vendor member will no longer display as an option when creating and assigning tickets.