Create a Ticket
Last updated: October 14, 2025
Overview
Note: If you have QR codes set up, then tickets can be created by users scanning the code and filling out the ticket or survey information. This article is about creating a ticket from scratch as an admin inside nodaFi.
There are a lot of options for tickets, from scheduling to attaching procedures, and we will touch on them all here. In this article, we’ll go over how to create a ticket in the nodaFi web application as an admin.
Create a Ticket
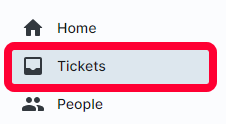
Select Tickets in the left menu.
Click Create ticket in the top right.
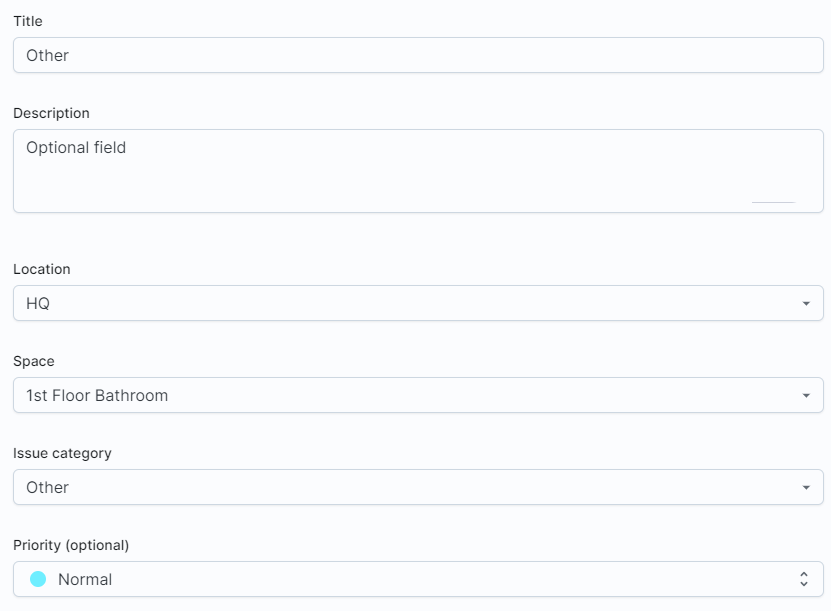
A new window will open to enter your ticket information. We’ll go over each field in the sections below.
Basic Information
All tickets need a certain amount of information for users. We’ll go over these fields below:
- Title - The name of the ticket as it will be displayed in the ticket table. This is not a required field, if left empty, the ticket Issue category will be used.
- Description - Detailed information or instructions for the ticket. This is not a required field but is often helpful for users working on the ticket later.
- Location - A dropdown to select the desired location. The location you choose will determine what Spaces are available in the next field.
- Space - A dropdown to select the appropriate space.
- Issue category - A dropdown to select which category best describes the ticket purpose. The options available may be limited based on location choices.
- Priority (optional) - Use the dropdown to select the priority level of the ticket, this will be determined by your organization’s internal workflows.
Procedures
You can attach procedures to tickets. Procedures are forms or checklists for users to complete. Procedures are optional and not required for tickets. For more information about procedures, see the article Understanding Procedures.
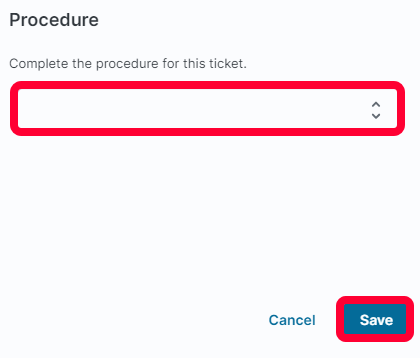
To attach a procedure to a ticket, click the Procedure field.

The Procedure window will open. Use the dropdown to select the desired procedure. Click Save to attach the procedure.
Optional Assignments
To help with record keeping and later reporting you can associate tickets with assets, vendors, and customers. For example, you can run a report to see the number of tickets and costs associated with a specific asset at the end of the year.
If you select a Vendor or Customer, the selected group will receive a notification about the ticket, and be able to log in and view it.
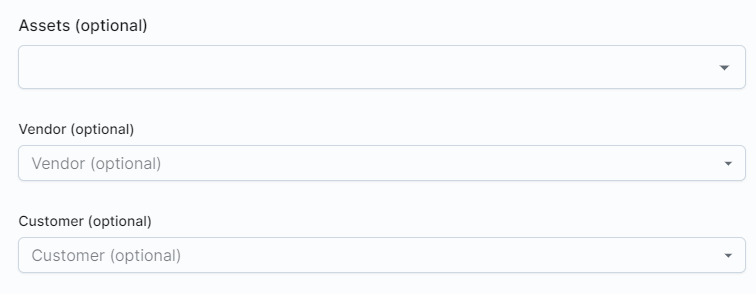
Note: For more information see the articles about Vendors & Customers.
Assigning a Ticket to Your Team
Depending on criteria set up for locations, issue categories, and user groups, some tickets will automatically be assigned. Other tickets need to be manually assigned.
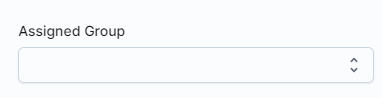
Use the Assigned Group dropdown to select an entire user group from your team. Everyone in the group will get a notification and have access to complete the ticket.
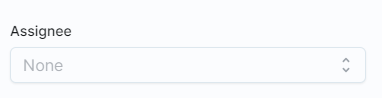
Use the Assignee dropdown to assign the ticket to a specific user.
Due Dates and Scheduling
To add a deadline for ticket completion, click the calendar icon under Due date and schedule.

In the new window, use the calendar to choose the due date. You can change the Month and Year with the top dropdowns.
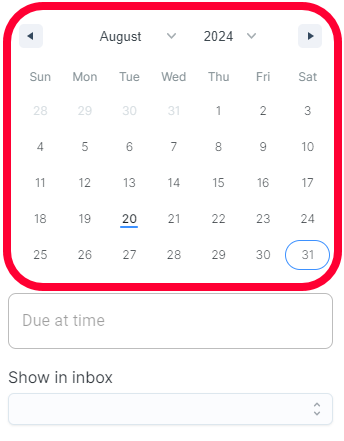
To add a specific time, fill in the Due at time field.
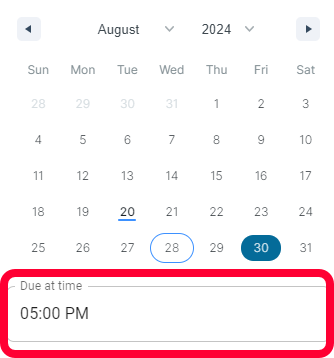
You can schedule how soon before the due date and time a ticket will populate the ticket table. Use the Show in inbox dropdown to choose a time. In the example below, the ticket will appear in the table 12 hours before the due date and time.
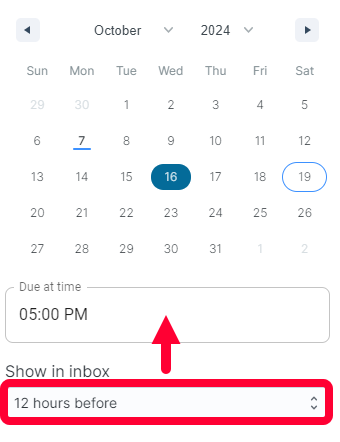
Note: If you use the All filter in the ticket table, you will still see all scheduled tickets. Scheduled tickets will be visible in the calendar view as well. For more information see the article Find and View a Ticket.
When you’re done, click Save to set the due date.
If you would like to have the ticket automatically created on a repeating schedule, see the article Schedule a Ticket. Scheduling a ticket is useful for preventative maintenance like monthly inspections that happen at regular intervals and use the same procedures.
Custom Fields
If you created custom fields for tickets, you will see them near the bottom of the ticket. Fill them out as required by your organization’s workflow.
For more information on custom fields, see the article Using Custom Fields.
Files
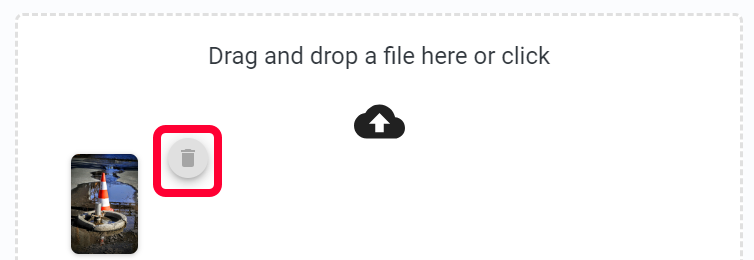
You can attach files to tickets by dragging and dropping them into the bottom field. You can also click the cloud icon and then select the desired file from your device.
A preview of the file will show in the field. To remove the file, hover over it and click the trashcan icon.
Save the Ticket
When you’re done, click Create ticket to save the ticket and send out notifications to those assigned to the ticket.