Create an Inventory Item
Last updated: October 14, 2025
Overview
Inventory items are parts that you want to track the inventory levels of. Typically Admins create inventory items so that users can associate them with tickets. For more information about inventory items, see the article Understanding Inventory and Assets.
In this article, we’ll go over how to create a new inventory item.
Create an Inventory Item
Click Parts Inventory in the left menu.
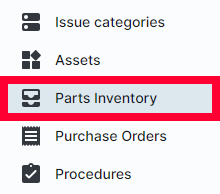
The Parts page will open. Click the Add part button in the top right.

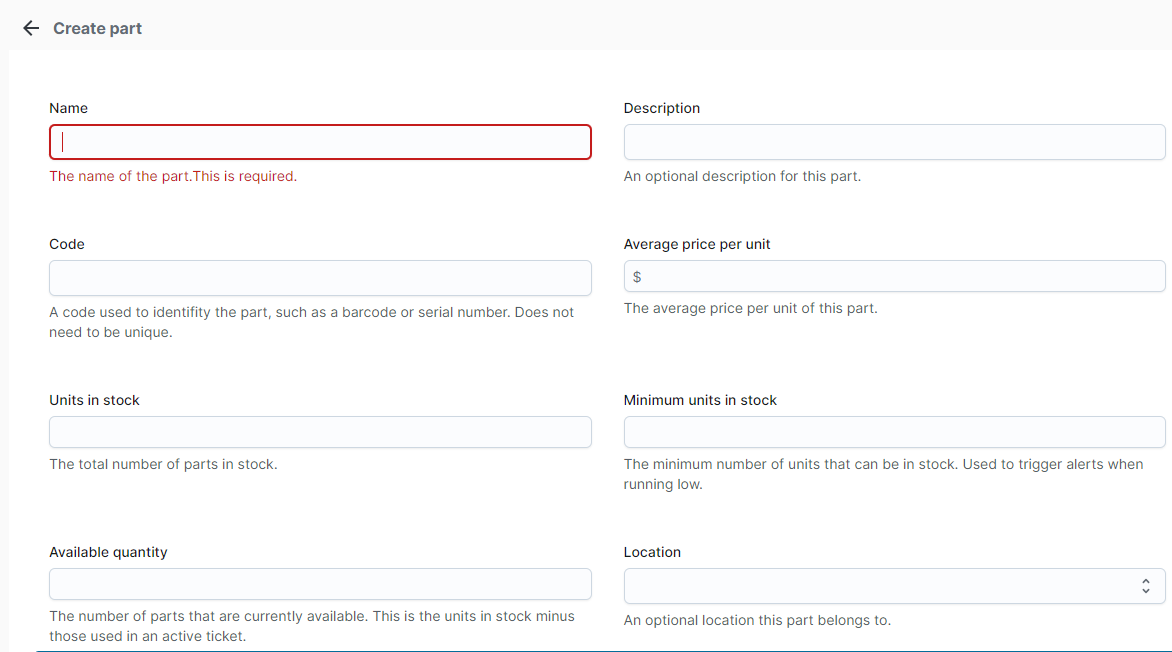
On the Create part page, fill out the following information:
- Name - The name of the part, this is how it will appear in your inventory. This is a required field.
- Description - Additional information about the part. This is an optional field.
- Code - Any code that can identify the part. This is an optional field and the code does not need to be unique.
- Average price per unit - This is the average cost your organization pays for this part. This is an optional field.
- Units in stock - Enter the current inventory of the part. This is an optional field.
- Minimum units in stock - Enter the minimum number of parts you can have in stock. When inventory reaches this level an alert will be sent to an admin.
- Available quantity - This will autofill later based on the Units in stock minus the number of parts associated with an active ticket.
By default when an inventory item is created, it is available to use on all tickets. If you only want items to display for a certain location, space, or asset you can assign items to them. Use the fields below:
- Location - This is an optional field for when a part is specific to a location. Use the dropdown to select the desired location. You can only select one location. The part will only appear for tickets tied to that location.
- Space - This is an optional field for when a part is specific to a space. You must first select a Location. Use the dropdown to select the desired space. You can only select one space. The part will only appear for tickets tied to that space.
- Asset - This is an optional field for when a part is specific to an asset. Use the dropdown to select the desired asset. You can only select one asset. The part will only appear for tickets tied to that asset.
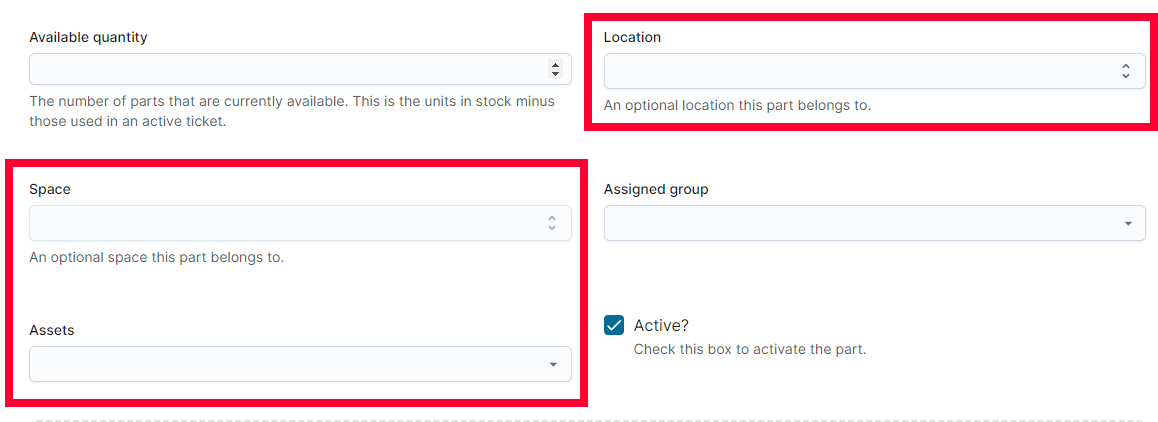
By default, inventory items are available for any user. To limit the users who are able to use an item, select an Assigned group. You can only select one assigned group, and only the users that are part of that group will be able to use the item on tickets.

Warning: Assigning items to locations, spaces, assets, and groups can help narrow dropdown options for users, but use caution as it hides the item from all other locations and spaces.
By default, new inventory items are considered Active, meaning they can be used on tickets and tracked in inventory. If an item is not active, it will not appear in ticket dropdowns for use.
Use the Active checkbox to change the item's status.

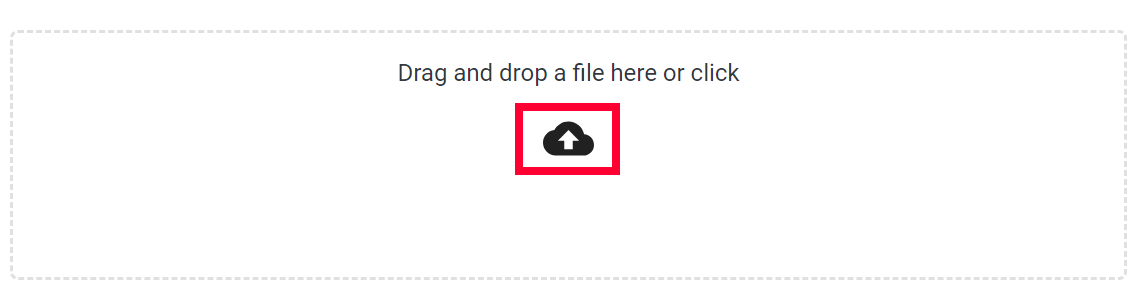
To add an image or other file to an inventory item, click the upload icon or drag and drop a file into the upload field. Files can be up to 10 MB in size with up to 5 uploaded at once.
Click Save to create your new inventory item.
