Add a Space
Last updated: October 14, 2025
Overview
A space is a physical area inside a location.
Locations are often buildings or other large structures that can be assigned spaces. For more information on locations, see the article Understanding Locations and Spaces.
In this article, we’ll go over how to add a new space.
Note: If you have multiple spaces to add, you may want to bulk import your spaces and associated information. See the article Bulk Imports for more information.
Find a Location
Spaces are added to locations. To get started, you will first need to find the location you want to add a space to.
Select Locations in the left menu.
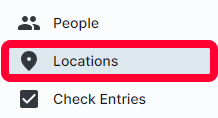
A table with all active locations will be displayed.
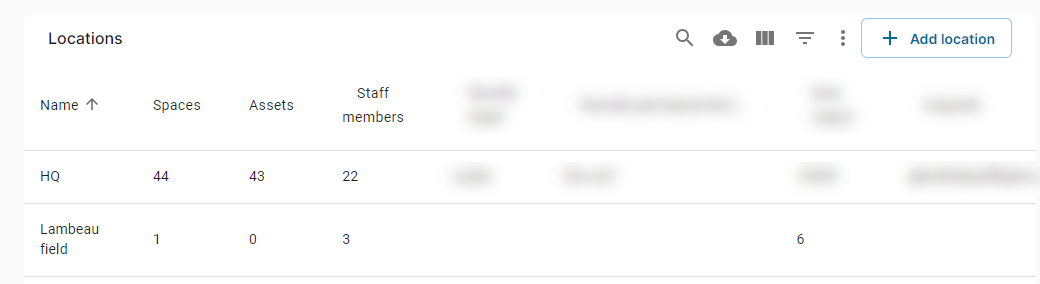
You can search and filter locations. For more information on the search and filter functions, see the article Searching and Filtering.
Click to open the location you want to add a space to.
Add a Space
On the Edit page of the desired location, click the Spaces tab.
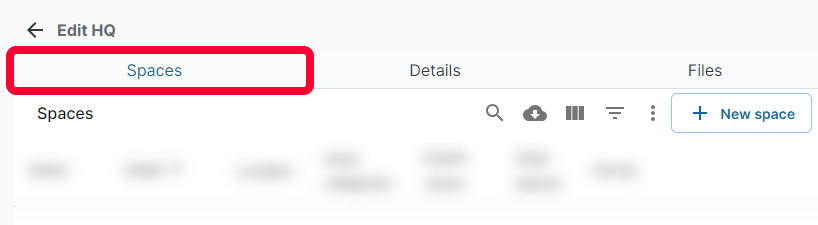
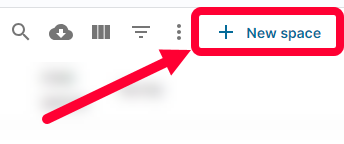
In the top right, click New space.
The Create space page will open. To the right you can see a preview of how a space will look for end-users.
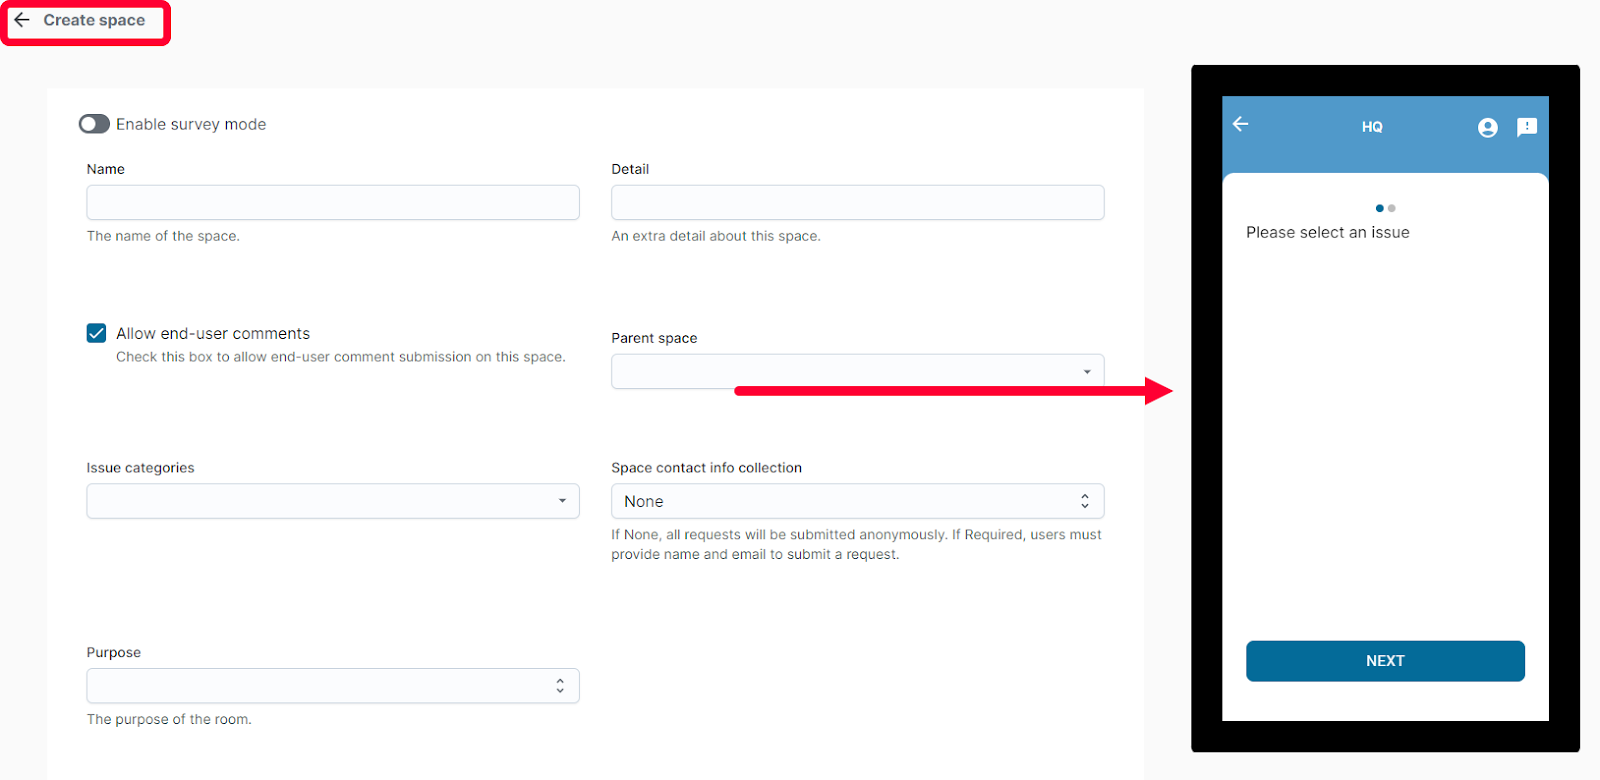
The first thing to decide if a space will prompt end-users to fill out a survey or create a ticket.
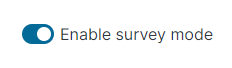
To provide a survey, toggle the Enable survey mode switch to the right.
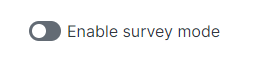
To prompt ticket creation, leave the Enable survey mode switch to the left.
Enter the following basic information for the space:
- Name - Enter the space name. This is a required field.
- Detail - Enter any extra information about the space. This is an optional field.
- Allow end-user comments - To allow end-users to add comments to a survey or ticket submission, check the box. If you do not want end-users to add comments, uncheck the box.
- Parent space - If a space is part of a larger parent space, use the dropdown to select the parent space. For more information on parent and child spaces, see the article Understanding Locations and Spaces.
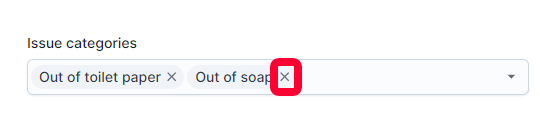
- Issue categories - If you have disabled survey mode, you can assign issue category options to the space. This determines what issue options are displayed for an end-user when submitting a ticket for the space. You can add one or more issues. To remove an issue, click the X next to it. If you leave this field blank, all issue categories will appear as an option for end-users.
-
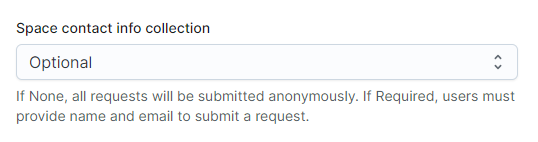
Space contact info collection - If you have disabled survey mode, you have the option to require contact information for the ticket submitter. This is helpful if the end-user is reporting an incident that may require follow-up information. There are three options:
- None - End-users will not be prompted to provide contact information when submitting a ticket.
- Optional - End-users can provide contact information when submitting a ticket but it is not required.
- Required - End-users cannot submit a ticket without providing contact information.
- Survey - If you enable survey mode, you must select which survey is displayed to the end-user. For more information on surveys and setting them up, see the article Understanding Surveys.

If you created custom fields for spaces, you will see those fields at the bottom of the page. Fill them out as needed.
Click Save to create a new space.