Using Custom Fields
Last updated: October 14, 2025
Overview
Custom fields allow you to capture important information that is unique to your organization. For example, you may need to track a legacy identifier for assets with a custom field.
nodaFi allows you to create custom fields for the following features:
- Tickets
- People
- Locations
- Assets
- Vendors
- Customers
When you create a custom field, it will be available whenever you create or edit a feature record. You can create one or more custom fields. Once you create a custom field, you can use it when searching and filtering your data.
In this article, we’ll go over how you can create a custom field.
Create a Custom Field
Warning: For record-keeping purposes, custom fields cannot be deleted. Use caution when creating new custom fields for use.
Open the feature page you want to add a custom field to.
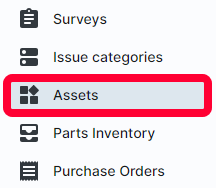
For example, if you want to add a custom field for an asset, select Assets in the left menu.
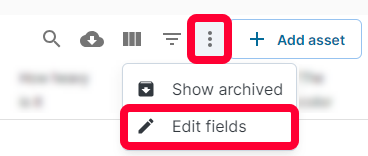
Click the three dots in the top right. Select Edit Fields.
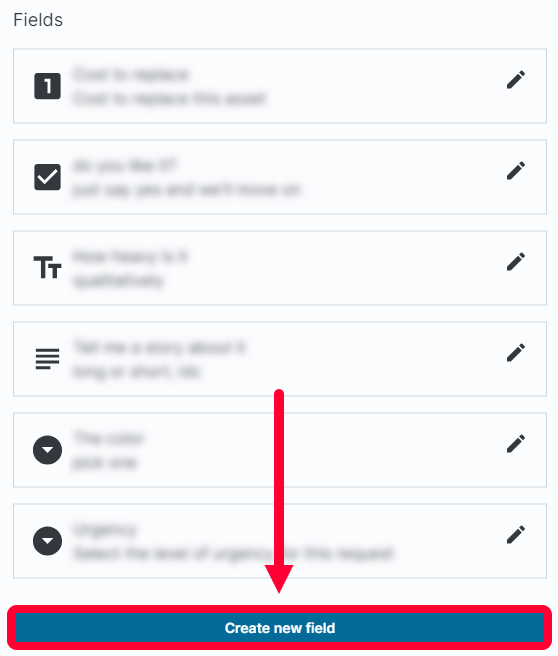
The Fields window will open. Click Create new field.
The Create new field window will open. Use the dropdown to select the desired Field type. There are five options:
- Text - This type allows users to enter a line of text in the new field. This is best for fields that require short answers.
- Multi-line text - This type allows users to enter larger amounts of text in the new field. This is best for fields that require in-depth responses.
- Number - This type allows users to enter a number in the new field. This is best for fields requiring a numerical value, such as serial number or weight measurement.
- Checkbox - This type allows users to check or uncheck the new field value. This is best for fields requiring a simple yes/no response.
- Drop-down - This type allows users to select an option from a set list of values. This is best for fields that can only have a set response.
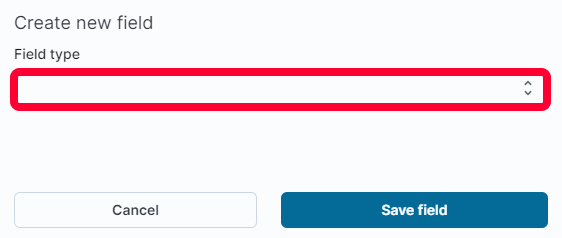
Warning: You cannot change the Field type of a custom field once it has been created. Use caution when selecting and saving.
No matter what Field type you select, some of the setup will remain the same. The following fields can be found no matter what type you select:
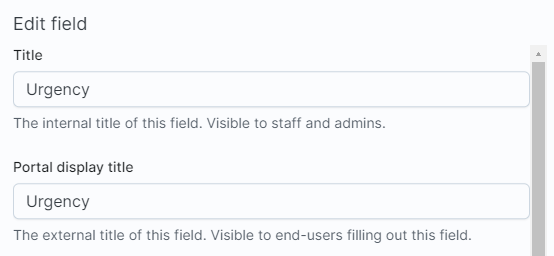
- Title - The custom field’s name as seen by users. This is a required field.
- Portal display title - The new custom field’s name as seen by end-users on the portal. Generally, this is the same as the Title. This is a required field.
- Portal helper text - Text that will display under the Portal display title. Use this to provide clarification or further instruction for end-users when filling out the field. This is an optional field.
- Default value - If you would like a value to automatically fill the new field, enter it here. For example, you can decide if you want a checkbox automatically checked or empty when it appears on a ticket. The value can be edited by users and end-users. This is an optional field.
If you are adding a Drop-down type, you need to add the options available to users.
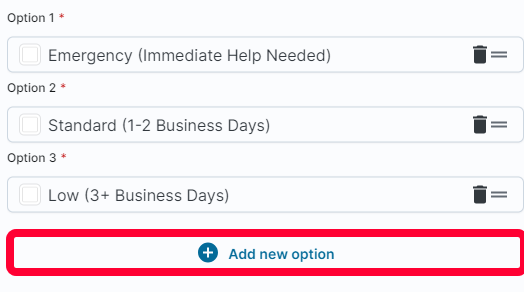
Click Add new option to create new options.
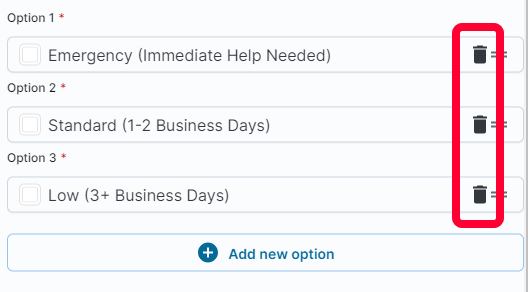
To remove an option, click the trashcan icon.
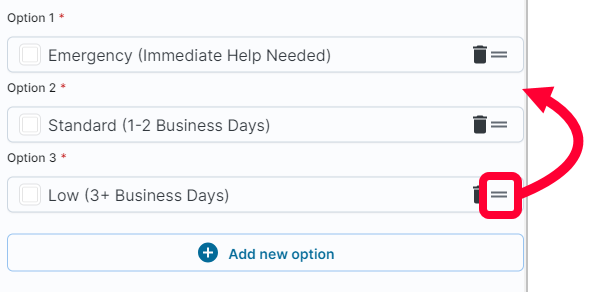
You can rearrange options using the horizontal lines to the right. Click the lines to drag and drop the option to a new spot.
When you’re done, click Save field.

The new field will be visible any time you edit or add a record in the feature.
Edit a Custom Field
You can edit a custom field at any time. Any changes made to a field will be applied to all records, existing and new.
Open the feature page you want to update a custom field of.
Click the three dots in the top right. Select Edit Fields.
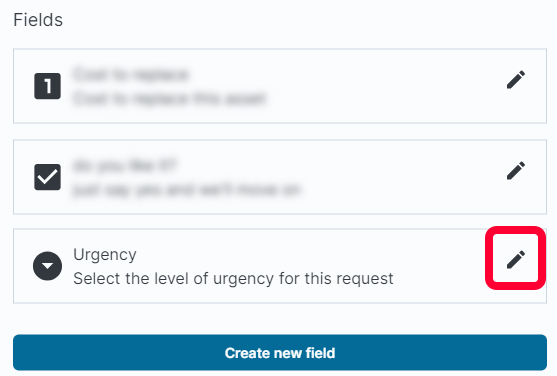
The Fields window will open. Click pencil icon next to the custom field you want to update.
The Edit field window will open. Update the desired information. For information about the different fields, see the section above Create a Custom Field.
Click Save Field to keep your changes.