Add a User
Last updated: October 14, 2025
Overview
Users can log into Nodafi. Depending on the permission level of a user, they can view and manage tickets as well as system settings. For more information on how users, see the article Understanding Users and Groups.
In this article, we’ll go over how to create a new user.
Create a User
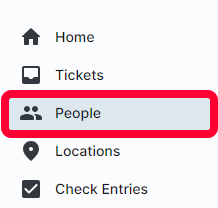
Select People in the left menu.
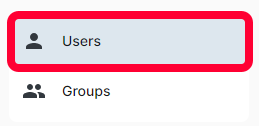
Click the Users submenu.
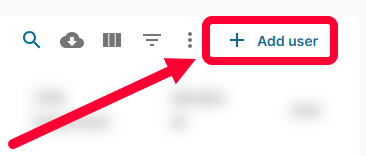
In the top right, click Add user.
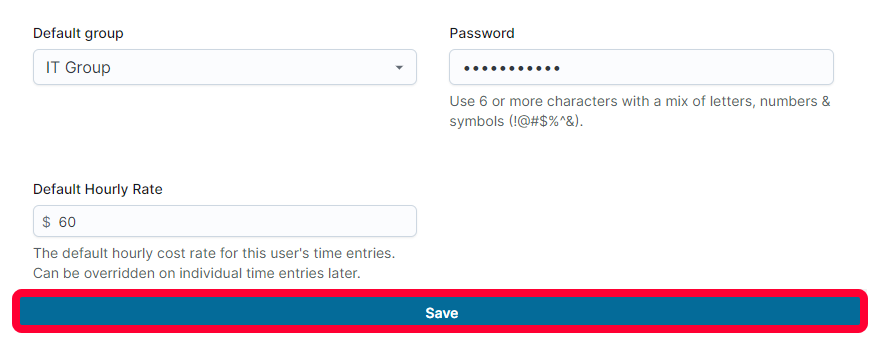
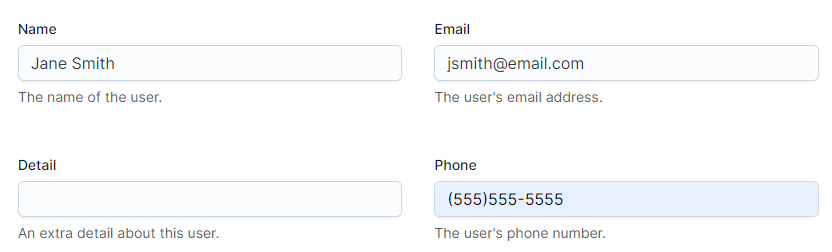
The Create user page will open. Enter the following basic information for the user:
- Name - Enter the new user’s full name. This is a required field.
- Email - Enter the user’s email address. This is a required field.
- Detail - This is an optional field for more information about the user.
- Phone - Enter the user’s phone number. This is an optional field.
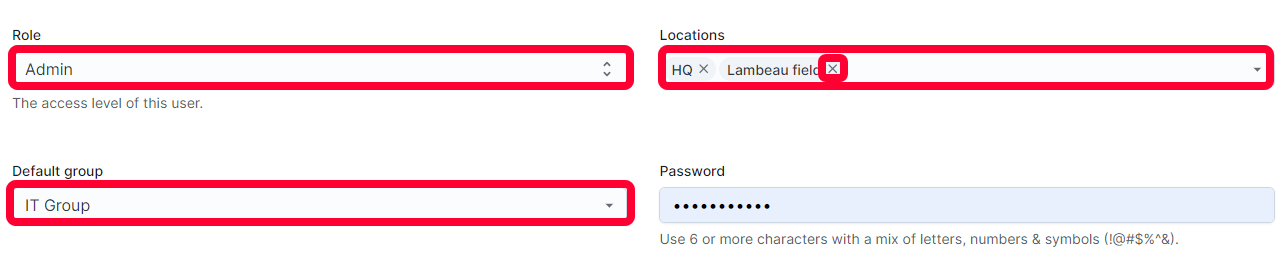
After setting up the user’s contact information, you need to set up their access and permission levels. Fill in the following fields:
- Role - Use the dropdown to select the new user’s role. Roles determine the access and permissions that a user has in the system. For more information, see the article User Permission Levels.
- Locations - Use the dropdown to select what locations a user has access to. You can select multiple locations. To remove a user, click the X next to their name.
- Default group - Use the dropdown to assign the user to a group. Groups can be used to create automated workflows for tickets, for more information see the article Understanding Users and Groups.
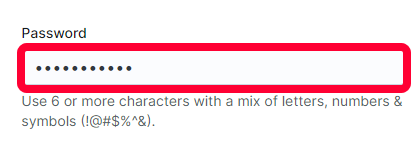
Use the Password field to set the user’s initial password. Passwords must be at least 6 characters and can contain upper and lower case letters, numbers, and symbols (!@#$%^&).
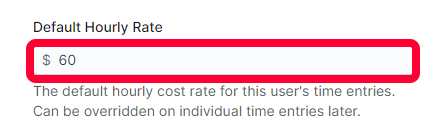
To assign an hourly rate to users, fill in the Default Hourly Rate field. This rate will be applied to any time logged by the user. If needed, the rate can later be edited on individual time logs by admins.
If you created custom fields for users, you will see those fields at the bottom of the page. Fill them out as needed.
Click Save to create a new user.