Create an Issue Category
Last updated: October 14, 2025
Overview
Issue categories help to quickly organize and understand incoming tickets. For more information on issue categories, see the article Understanding Issue Categories.
In this article, we’ll go over how admins can create a new issue category for tickets.
Create an Issue Category
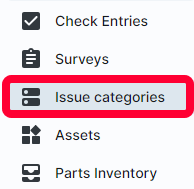
Select Issue categories in the left menu.
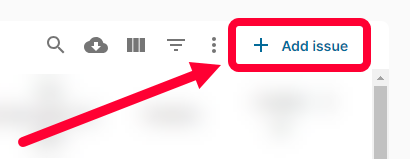
Click Add issue in the top right.
The Create issue page opens. Enter the following information:
- Name - Enter the title of the issue category. This is how the issue will appear in tickets. This is a required field.
- Description - Further information about the issue category that is displayed to users. This is an optional field.

When tickets are created, there will be an option to select an issue category. You can customize when an issue category is available depending on the space or asset the ticket is for. You can select multiple spaces or assets.
Use the following dropdowns to customize when an issue category displays as an option:
- Spaces - Select which spaces this issue category is an option for, the issue will not be an option for spaces not selected. If you leave this blank, the issue category will be an option for all spaces.
- Assets - Select which assets this issue category is an option for, the issue will not be an option for assets not selected. If you leave this blank the issue category will be an option for all assets.

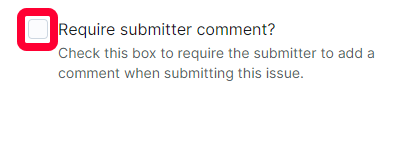
If you want submitters to enter a comment for tickets with this issue selected, check the Require submitter comment checkbox. If you leave this empty, submitters will not have to enter additional information to submit the ticket.
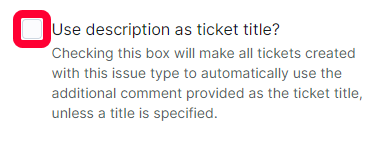
By default, tickets use the selected issue category as the ticket title. To use the submitter comment as the ticket title instead, check the Use description as ticket title checkbox.
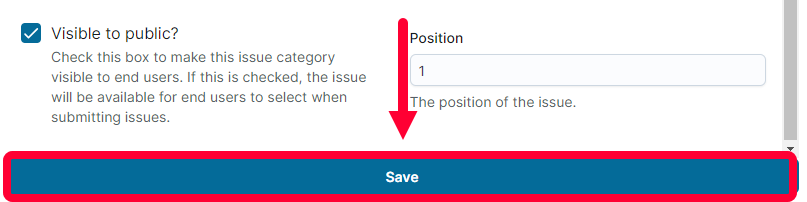
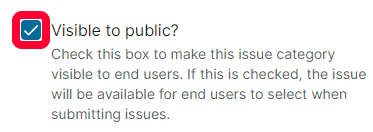
When you create a new issue category it is visible to end-users. To hide an issue category from end-users and have it only available for staff users, uncheck the Visible to public checkbox.
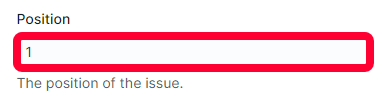
You can customize the order in which issue categories appear in a ticket. Enter the number in the Position field. For example, position 1 will show up as the first option in the issue list.
Click Save to create the new issue category.