Create an Asset
Last updated: October 14, 2025
Overview
Assets are significant items that require maintenance or repairs. Tickets can be assigned to specific assets. For more information about assets, see the article Understanding Inventory and Assets.
In this article, we’ll go over how to create a new asset.
Create an Asset
Click Assets in the left menu.
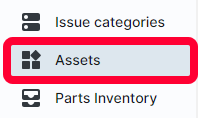
The Assets page will open. Click the Add asset button in the top right.

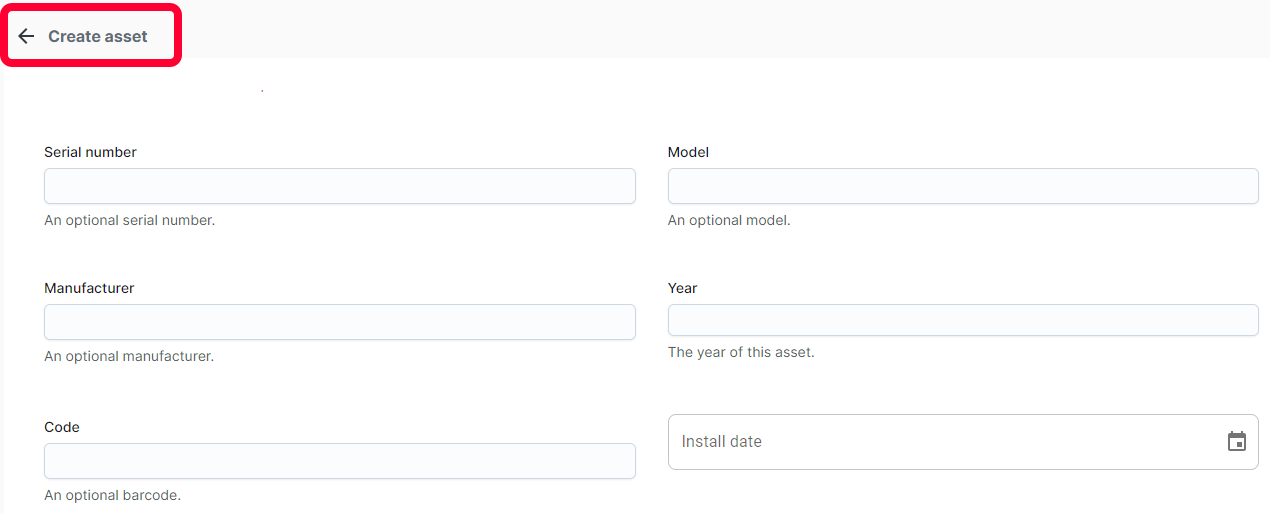
On the Create asset page, fill out the following information:
- Name - The name of the asset, this is how it will appear in ticket options. This is a required field.
- Description - Additional information about the asset. This is an optional field.
- Serial Number - Any unique set of numbers that can identify the part.
- Model - The model name of the asset. This is an optional field.
- Manufacturer - The manufacturer of the asset. This is an optional field.
- Year - The year the asset was made. This is an optional field.
- Code - Any code that can identify the part. This is an optional field and the code does not need to be unique.
- Install Date - Use the calendar to select when the asset was installed or purchased.
By default when an asset is created, it is available to use on all tickets. If you only want items to display for a certain location, space, or issue categories you can assign items to them. Use the fields below:
- Location - This is an optional field for when an asset is specific to a location. Use the dropdown to select the desired location. You can only select one location. The asset will only appear for tickets tied to that location.
- Space - This is an optional field for when an asset is specific to a space. You must first select a Location. Use the dropdown to select the desired space. You can only select one space. The asset will only appear for tickets tied to that space.
- Issue categories - This is an optional field for when an asset is specific to an issue. Use the dropdown to select the desired issue category. You can select multiple issues. The part will only appear for tickets tied to that issue category.

Warning: Assigning assets to locations, spaces, and issue categories can help narrow dropdown options for users, but use caution as it hides the assets from all other locations, spaces, and issues selected.
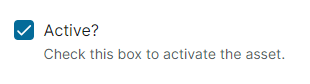
By default, new assets are considered Active, meaning they can be used on tickets. If an asset is not active, it will not appear in ticket dropdowns for use.
Use the Active checkbox to change the asset status.
Note: If you created custom fields for assets, those fields will appear below the Active checkbox. Fill them out according to your organization’s workflow. For more information on creating custom fields, see the article Using Custom Fields.
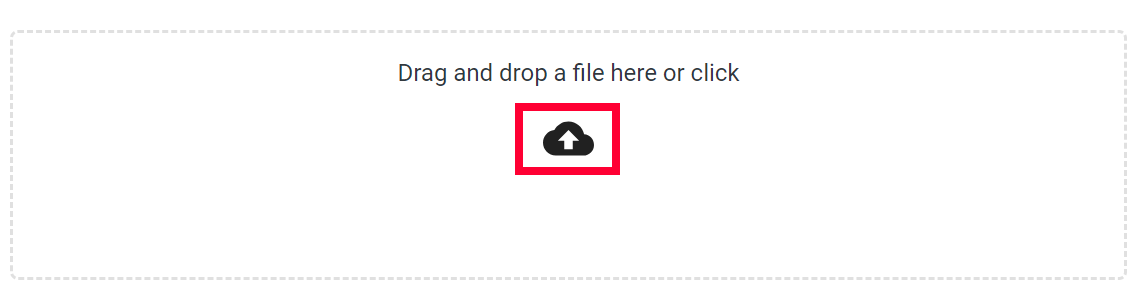
To add an image or other file to an asset, click the upload icon or drag and drop a file into the upload field. Files must be under 10 MB and at most 5 can be uploaded at one time.
Click Save to create your new asset.
