Manage Assets
Last updated: October 14, 2025
Overview
Admins can update assets at any time. Changes made to assets will take immediate effect. In this article, we’ll go over everything you need to know to manage assets.
Locate Assets
Click Assets in the left menu.
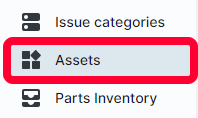
A table with all active locations will be displayed.

You can search and filter assets. For more information on the search and filter functions, see the article Searching and Filtering.
Edit an Asset
Once you’ve found the desired asset, click to view its profile. The Edit asset page will open.
To update asset information, click the Details tab. You can update any of the desired fields. For a breakdown of the field options, see the article Create an Asset.
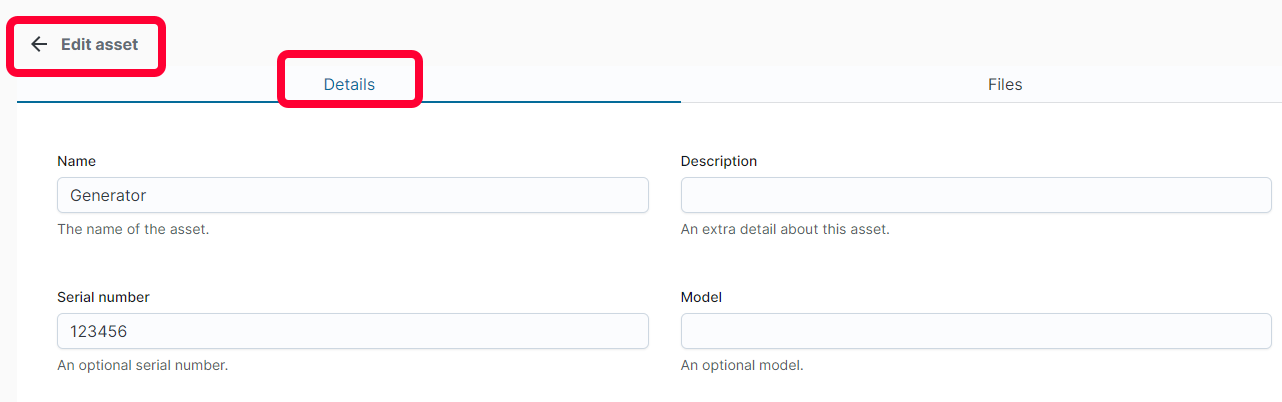
To manage the files associated with an asset, click the Files tab.
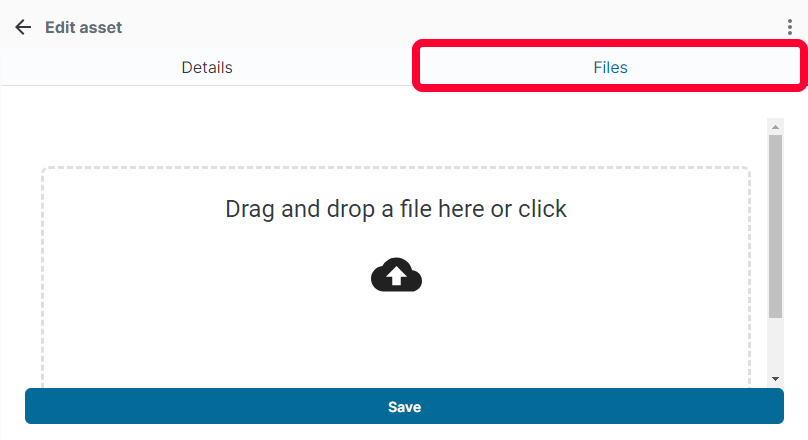
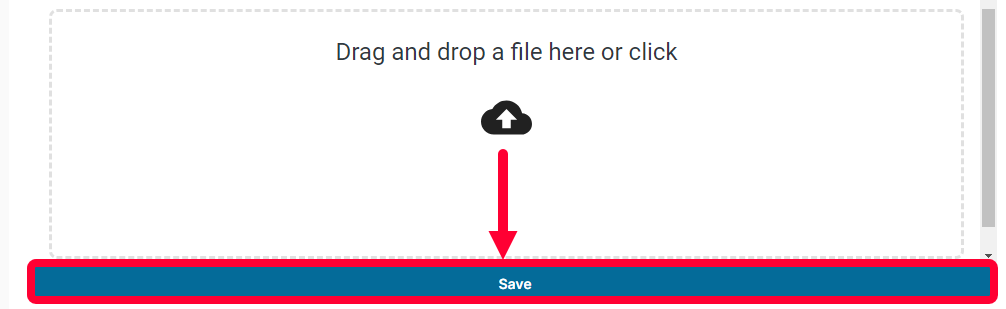
You can upload a new file with the bottom upload field. Click the field to select a file or drag and drop the desired file in the field.

You can download a file by clicking the cloud icon in the bottom right of an image.

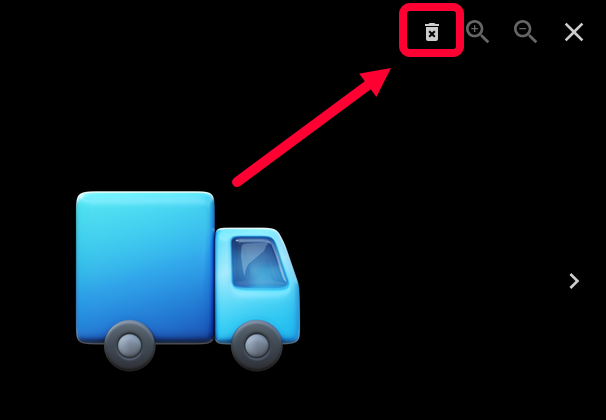
To remove an image, first click to open it. In the top right click the trashcan icon.
Click Save to keep your changes.
Archive an Asset
Warning: When you archive an asset, it will no longer appear as an option on tickets. Use caution before archiving.
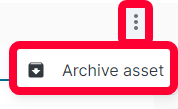
There are two ways to archive an asset. The first is to click the three dots in the top right and select Archive asset.
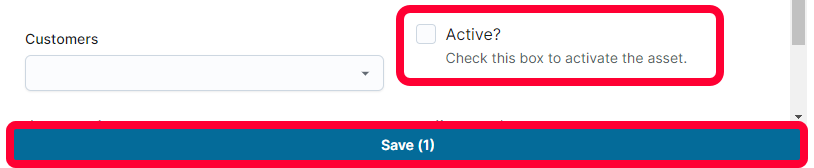
The other way to archive an asset is to remove the check from the Active checkbox and click Save to update.
Unarchive an Asset
To view archived assets, click Assets in the left menu.
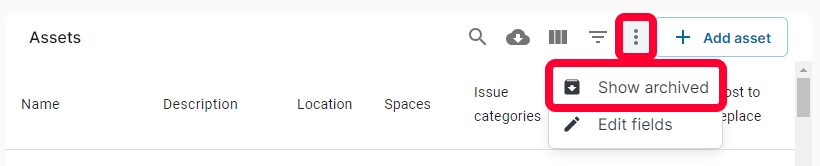
Click the three dots in the top right and select Show archived. All archived assets will be displayed. Locate the desired asset and open its profile.
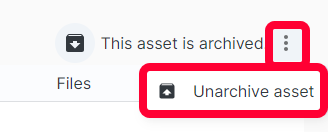
There are two ways to unarchive an asset. You can click the three dots in the top right and select Unarchive asset.
You can also check the Active checkbox and click Save to unarchive the asset.
