Add a Group
Last updated: October 14, 2025
Overview
Groups are a way to organize users and automate ticket assignments based on space and issue assignments. For more information on how groups work, see the article Understanding Users and Groups.
In this article, we’ll go over how to create a new group.
Create a Group
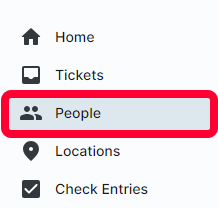
Select People in the left menu.
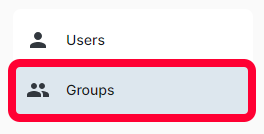
Click the Groups submenu.
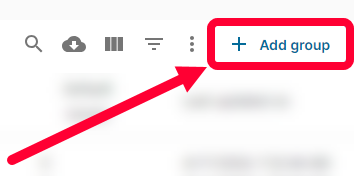
In the top right, click Add group.
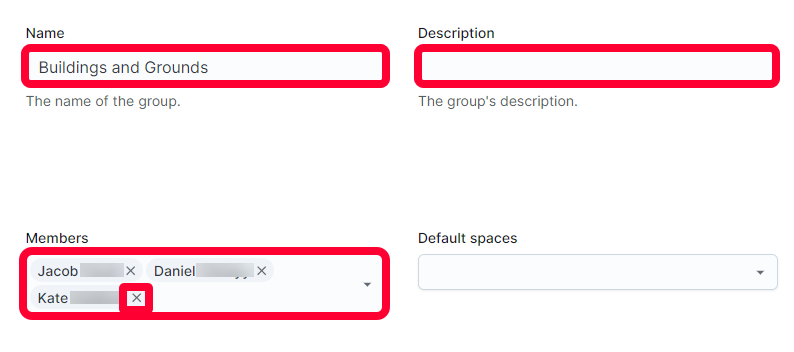
The Create group page will open. Enter the following information:
- Name - Enter a title for the group. This is a required field.
- Description - Enter additional information about the group. This is an optional field.
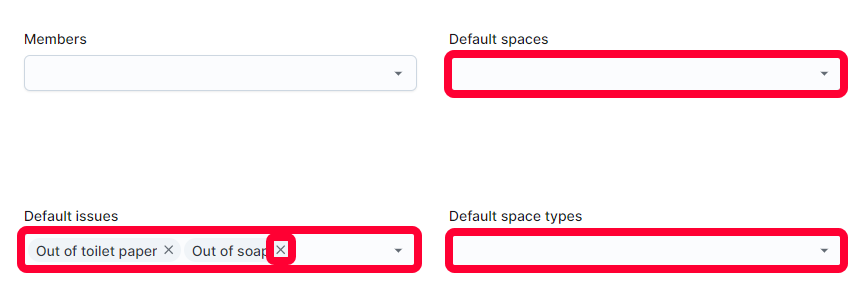
- Members - Use the dropdown to select what users are part of this group. You can select multiple users. You must add at least 1 user to create a group. To remove a user, click the X next to their name.
If you would like to set up automated ticket flows, you can assign certain spaces, issues, and space types to the group. Anything ticket related to the assigned spaces, issues, and space types, will automatically be assigned to that group and the user members associated with it.
For example, if you assign a space such as a Parking Lot to the Buildings and Grounds group, any ticket submitted with the Parking Lot space will automatically be assigned to the Building and Grounds members.
Use the Default spaces, Default issues, or Default space types dropdowns to create automated workflows. You can select multiple options in the dropdowns. To remove an option, click the X to the right. The fields are optional and can be left blank.
Click Save to create a new group.