Add a Customer
Last updated: October 14, 2025
Overview
Customers are third parties that might need access to tickets or be associated with them for reporting purposes. For more information about assets, see the article Understanding Customers.
In this article, we’ll go over how to create a new customer organization in three steps.
Set Customer Details
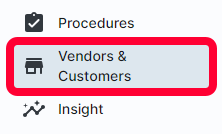
Click Customers & Customers in the left menu.
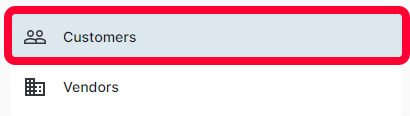
A new page will open. Click the Customers tab on the left.
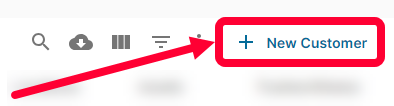
A table with all of the existing customers will be displayed. Click New Customer in the top right corner.
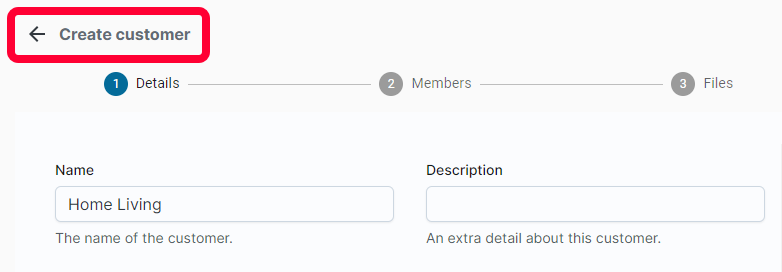
On the Create customer page, fill out the following information:
- Name - The name of the customer, this is how it will appear in ticket options. This is a required field.
- Description - Additional information about the customer. This is an optional field.
- URL - The URL for the customer’s website. This is an optional field.
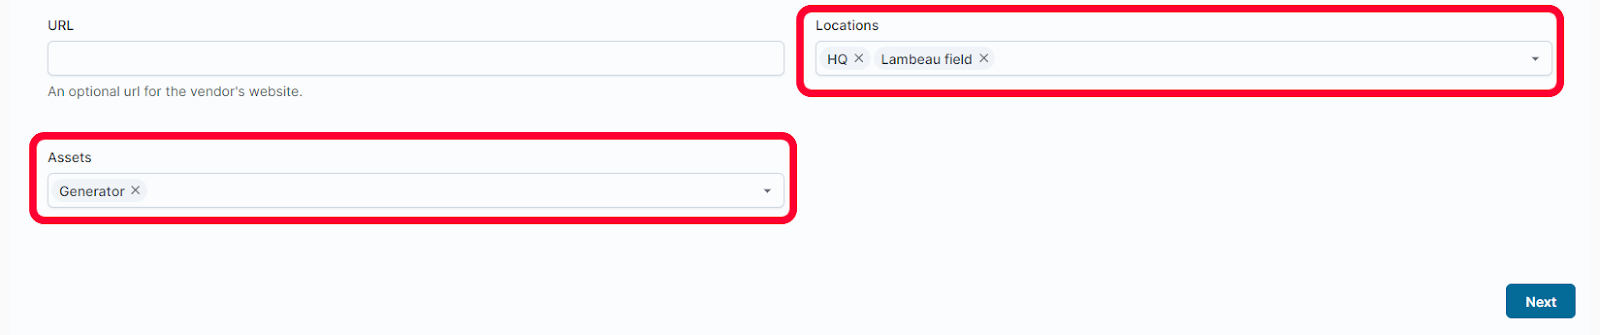
By default when a customer organization is created, it is available to use on all tickets. If you only want items to display for certain locations or assets you can assign it to them. Use the fields below:
- Location - This is an optional field for when a customer is specific to a location. Use the dropdown to select the desired location. You can only select multiple locations. To remove a location, click the X to the right of the name.
- Assets - This is an optional field for when a customer is specific to an asset. The customer will only appear for tickets tied to that asset. You can only select multiple assets. To remove an asset, click the X to the right of the name.
Warning: Assigning customers to locations and assets can help narrow dropdown options for users, but use caution as it hides the customer from all other locations and assets selected.
Note: If you created custom fields for customers, those fields will appear below the Assets field. Fill them out according to your organization’s workflow. For more information on creating custom fields, see the article Using Custom Fields.
When you’re done, click Next to start assigning customer members.
Assign Customer Members
Note: You can add customer members at a later time. For more information, see the article Add and Manage Customer Members. Click Next to move forward with creating a customer.
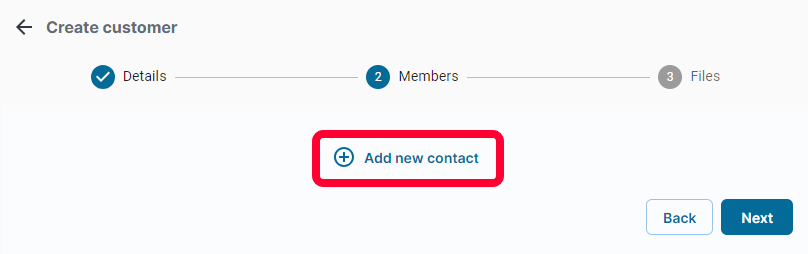
Click Add new contact to create a new customer member.
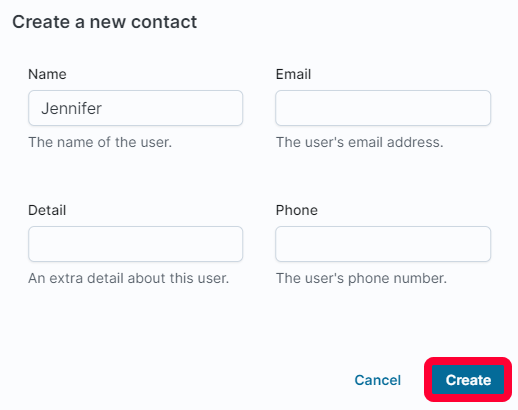
The Create a new contact window will open. Enter the following information:
- Name - Enter the name of the new customer member. This is a required field.
- Email - Enter the email address for the new member, this will be used for sending new ticket notifications and comment notifications. This is a required field.
- Detail - Enter any additional information about the member. This is an optional field.
- Phone- The new customer’s phone number. This is an optional field.
Click Create to add the new member.
Click Next to move on to the files portion of creating a customer.
Attach Files
Note: Files are not required to create a customer. Click Save to create a customer without any files attached. To attach a file later, see the article Manage Customers.
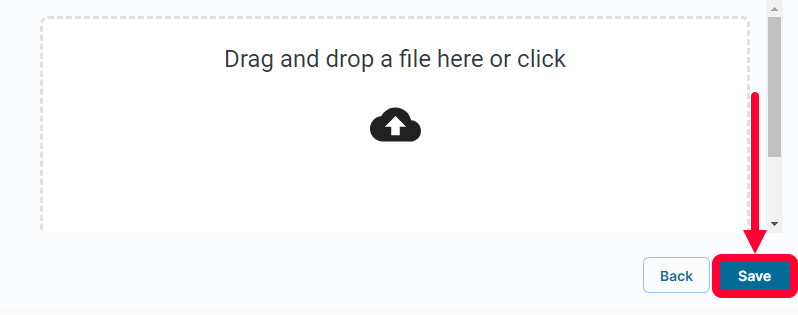
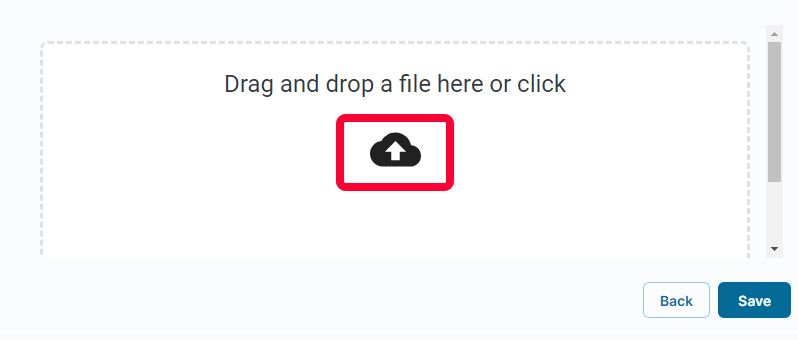
To add an image or other file to a customer, click the upload icon or drag and drop a file into the upload field. You can upload up to 5 files at one time. All files must be under 10 MB in size.
Click Save to create your new customer.