Create a Survey
Last updated: October 14, 2025
Overview
Surveys are custom forms that you create for users and end-users to fill out. Surveys are assigned to a space when admins create a space. When the QR code for the assigned space is scanned, the survey will appear. You can customize the sections and content of the survey.
In this article, we’ll go over how to create a new survey.
Create a Survey
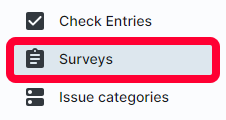
Click Surveys in the left menu.
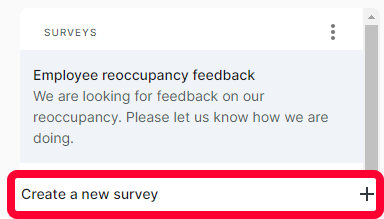
The Surveys page will open. On the left, there will be a list of existing surveys. To create a new one, click Create a new survey at the bottom.
On the Create survey page, fill out the following information:
- Title - The name of the survey, this is how it will appear in search options. This is a required field.
- Description - Additional information about the part. This is an optional field.
Surveys are created like forms. You can set up different form fields to collect information and you can organize those fields into sections.
Create and Manage Sections
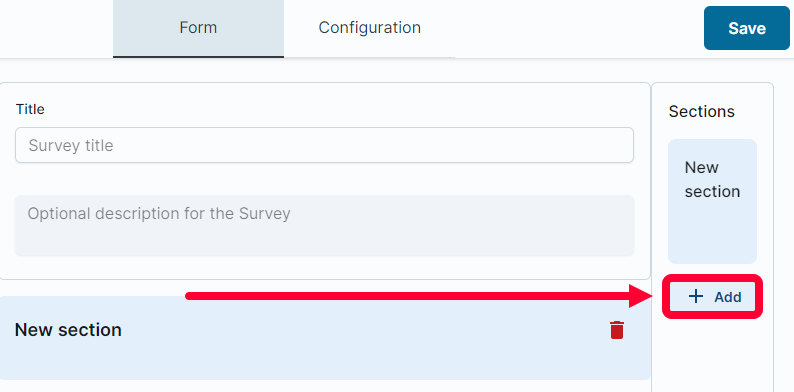
To create sections, look to the right Sections area. Click Add to create a new section for the survey.
To work on a section, simply click the desired section in the Sections area.
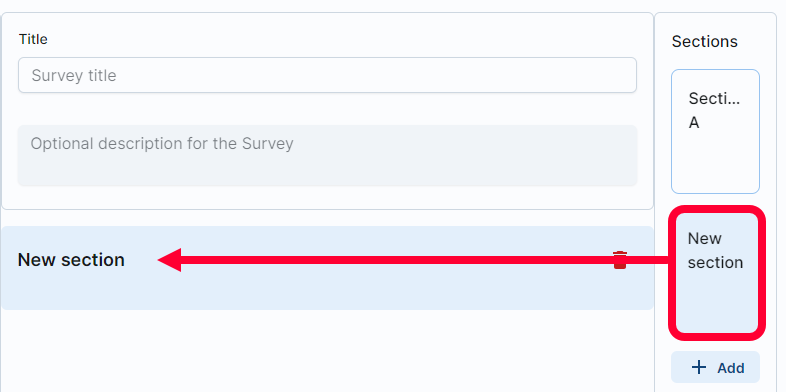
You can rename sections by clicking New section and entering a new title.
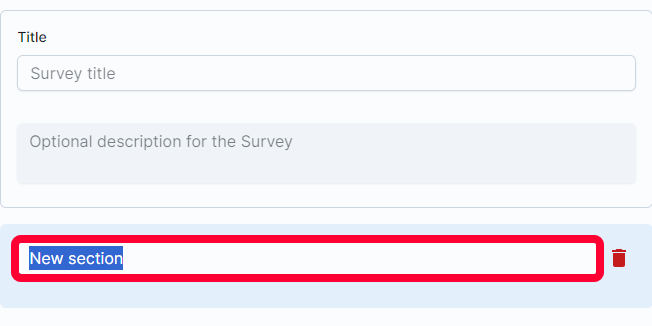
To remove a section, select it and click the trashcan icon to the right of the section title.

Add and Manage Fields
You can add fields to sections using the left Add a form element area. For a breakdown of each form element option, see the article Survey Fields.
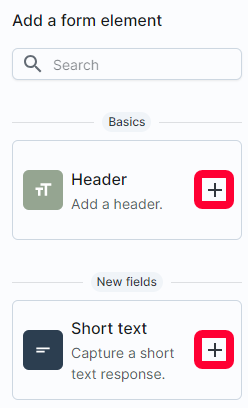
Click the plus sign to add a field to a section.
If you select the wrong field, click the field and use the dropdown to select a different type.
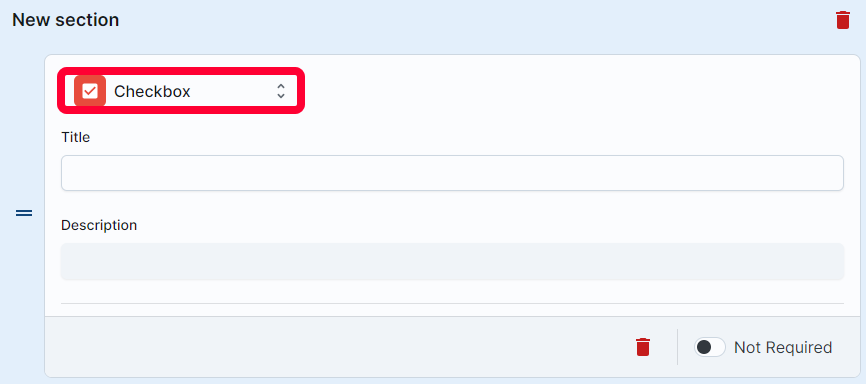
After adding a field to a section, click to see all of its options. All fields will need the following information filled out:
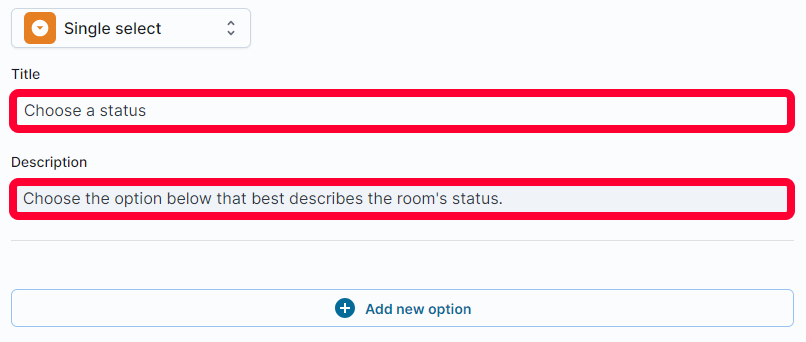
- Title - This is the label the field will have in the survey. Generally, this should be the task or question that the user is expected to complete or answer.
- Description - This is a place to add further explanation for the field.
See the example below for a Single select field with a Title and Description.
Note: Some fields will require additional options, see the article Survey Fields for more information about them.
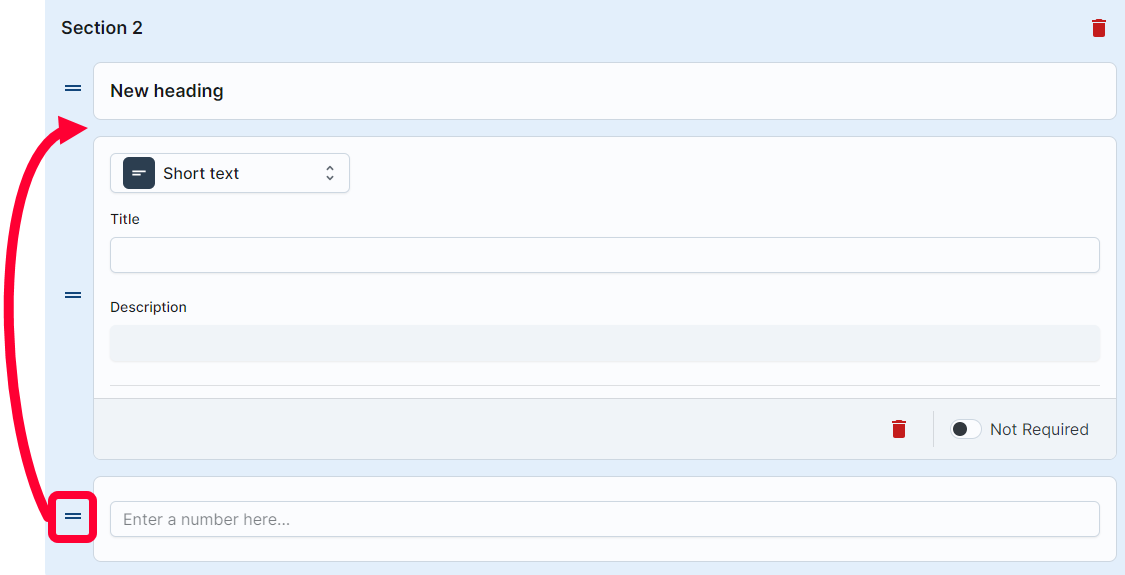
You can change the order of fields by clicking the = symbol to the left and dragging and dropping the field.
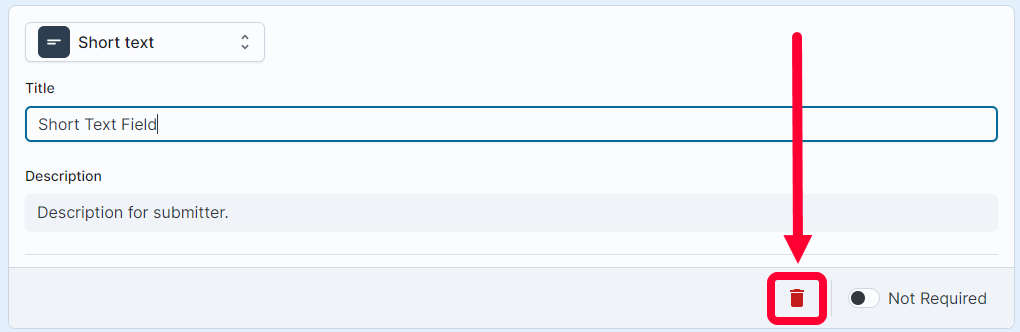
To remove a field, click the trashcan icon in the bottom right.
To make a field required before a submitter can complete the survey, toggle the Not Required switch to the right.
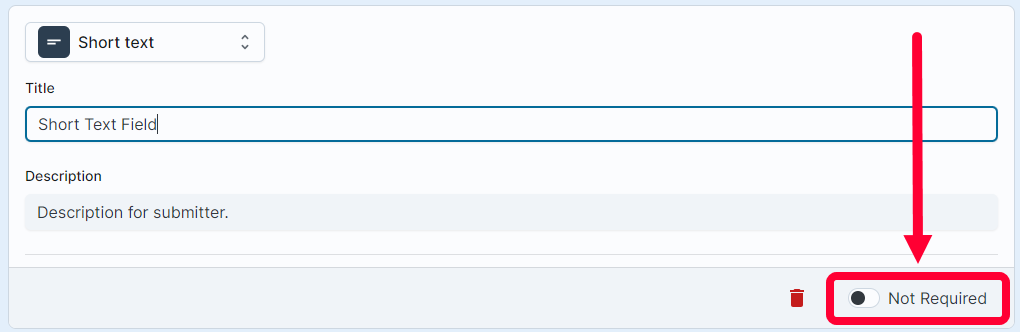
The switch will change to Required.
