Setting Up QR Codes
Last updated: October 14, 2025
Overview
After your onboarding, you’ll receive a stack of QR codes in person or via mail. To set up these QR codes, you need to assign them to a location, space, or asset. This is what allows users to simply scan a QR code to prompt a ticket, procedure, or survey.
The settings for the selected location, space, or asset is what determine the user experience with a set-up QR code is scanned.
Note: Generally, locations, spaces, and assets should exist in NodaFi before you try to set up QR codes. This can be done individually or as part of a bulk upload during your onboarding.
In this article, we’ll go over how to assign QR codes.
Scan the Code
Note: If you have not already installed the NodaFi mobile app, see the article here for help.
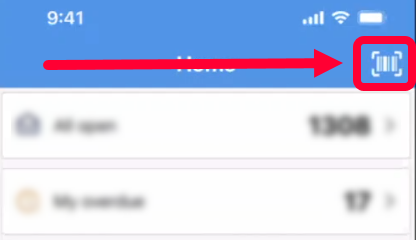
Open the mobile app and click the barcode icon in the top right.
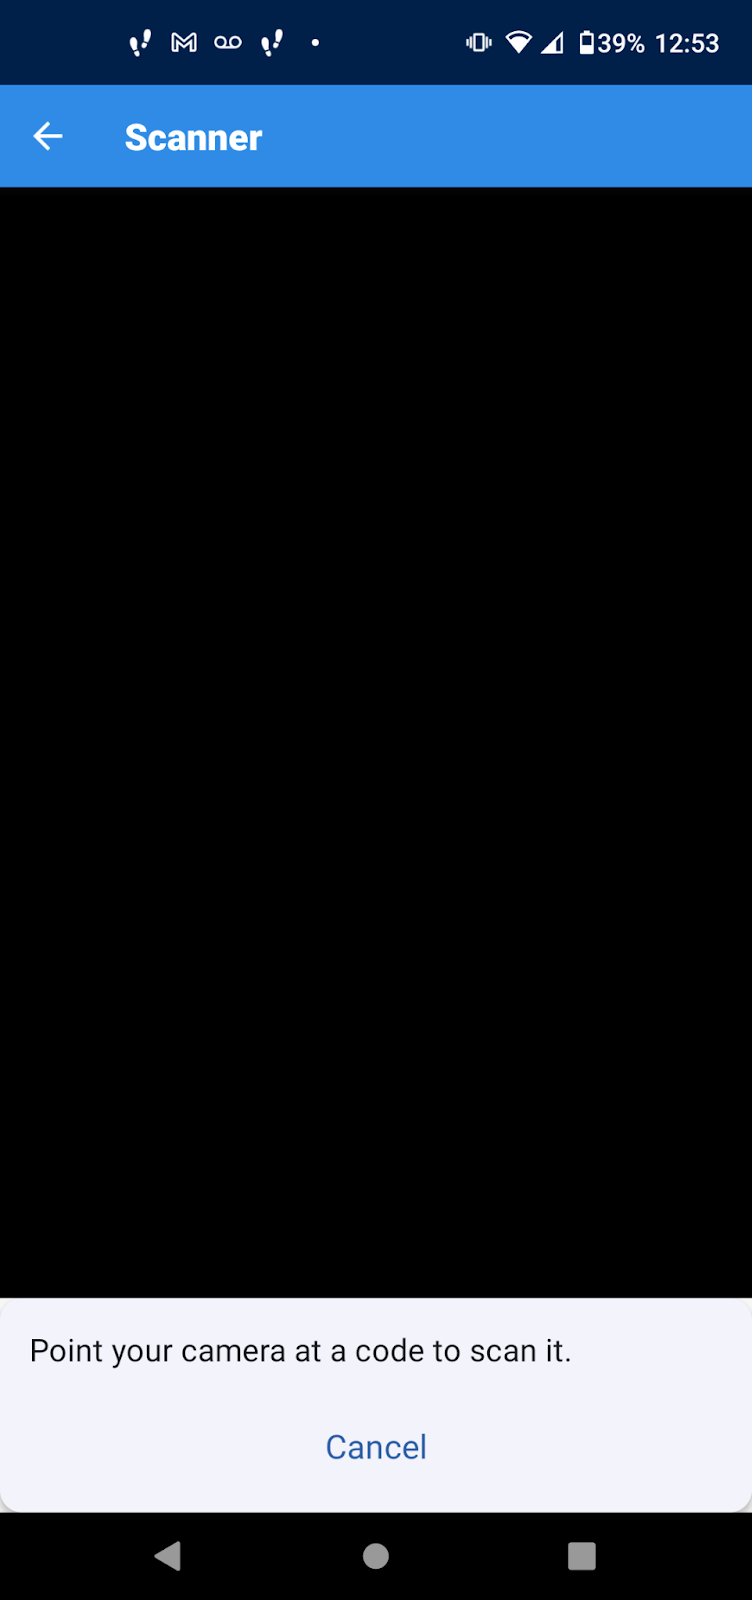
Use the camera to capture the QR code, a new page will open with options.
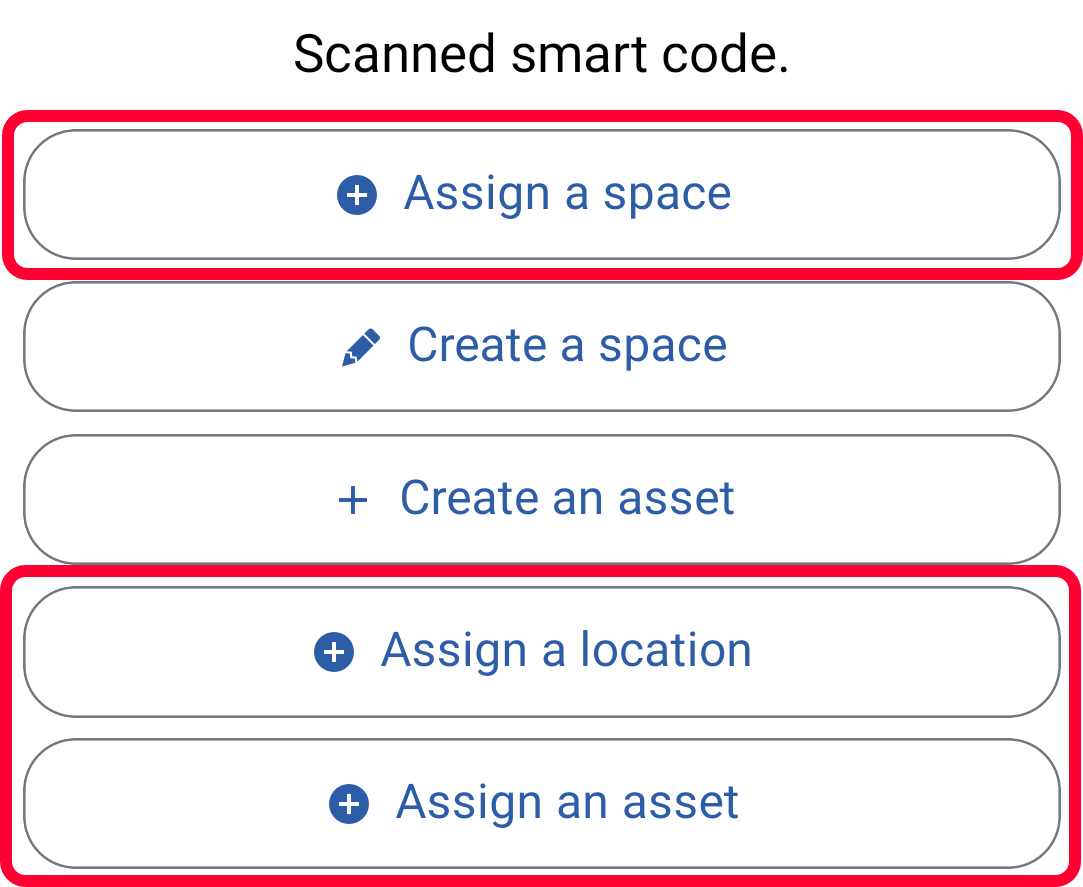
You can associate a QR code with an existing location, space, or asset by clicking the Assign buttons.
Note: Need help understanding locations, spaces, and assets? See the articles Understanding Locations and Spaces and Understanding Inventory and Assets.
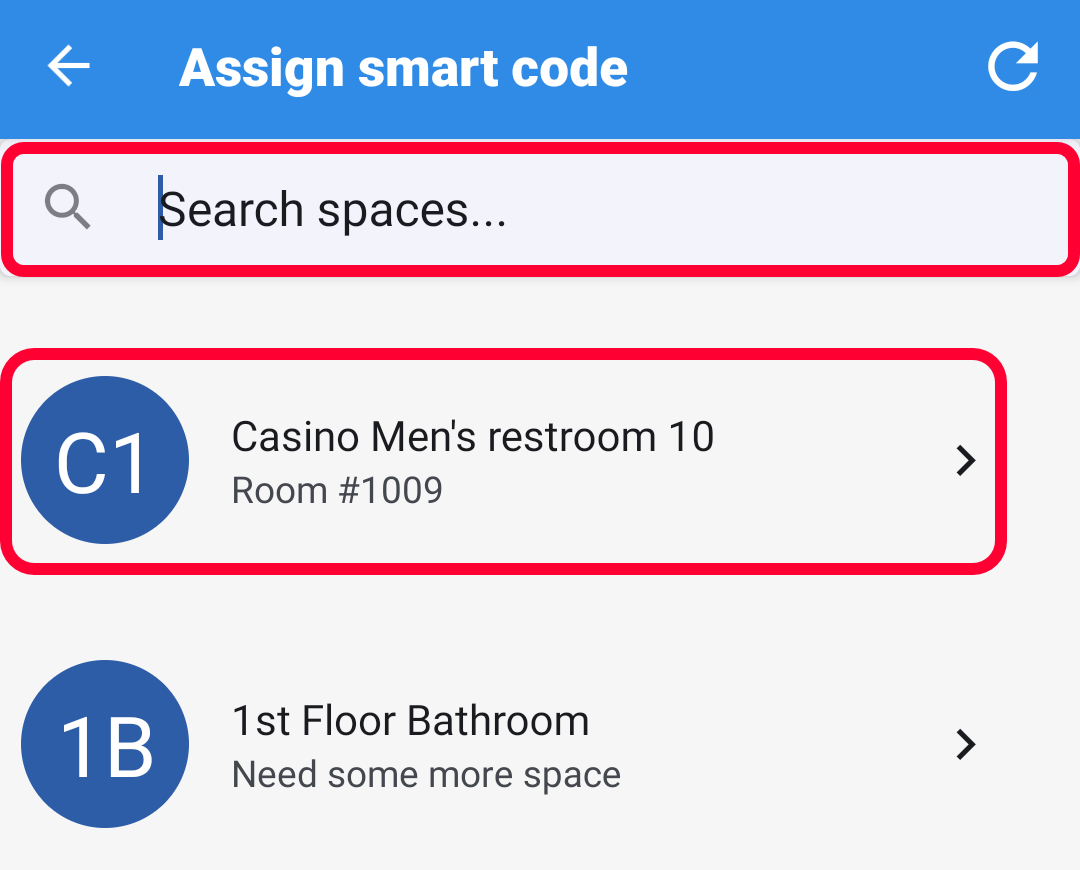
A window will open where you can search for and select the appropriate option. Once you select an option, the QR code will be assigned.
To create a brand new space or asset, click the appropriate Create button.
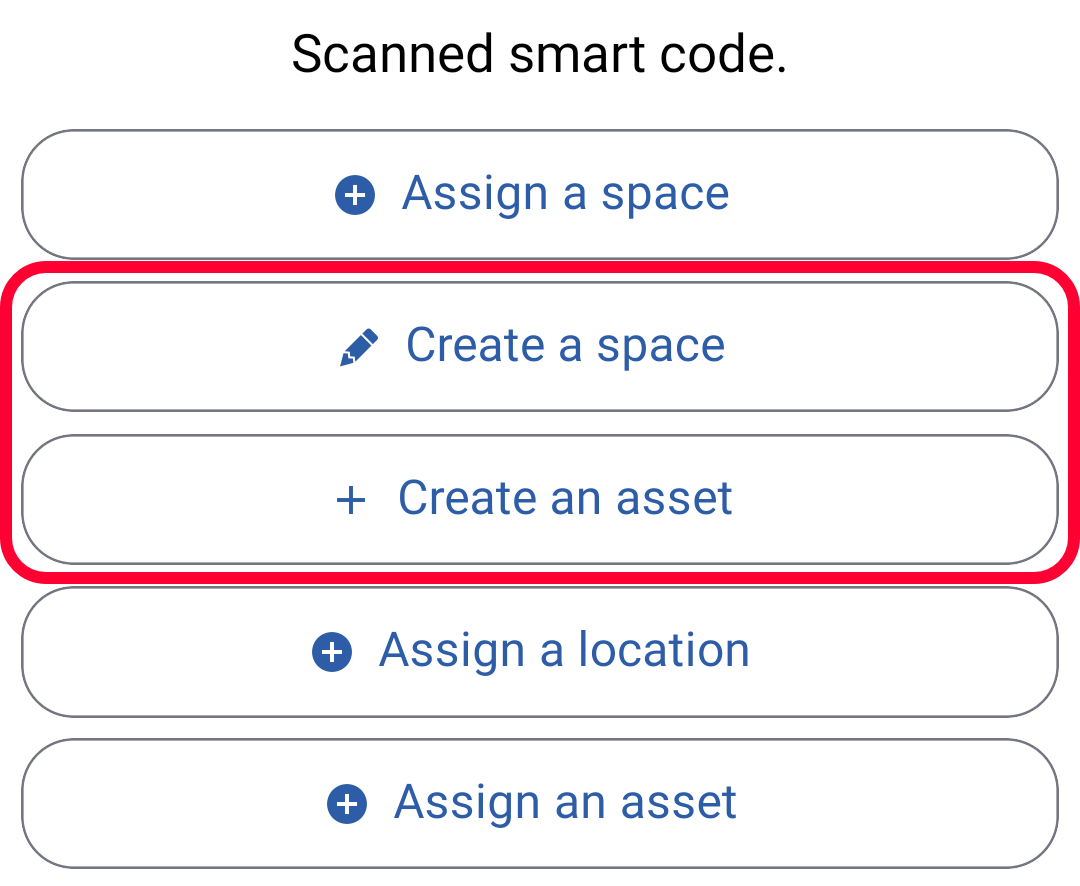
A new page will open where you can fill out the information needed to create a new space or asset.
For information on the different fields, see the article Create an Asset or Add a Space.
When you’re done, the QR code will be assigned to the new asset or space.